
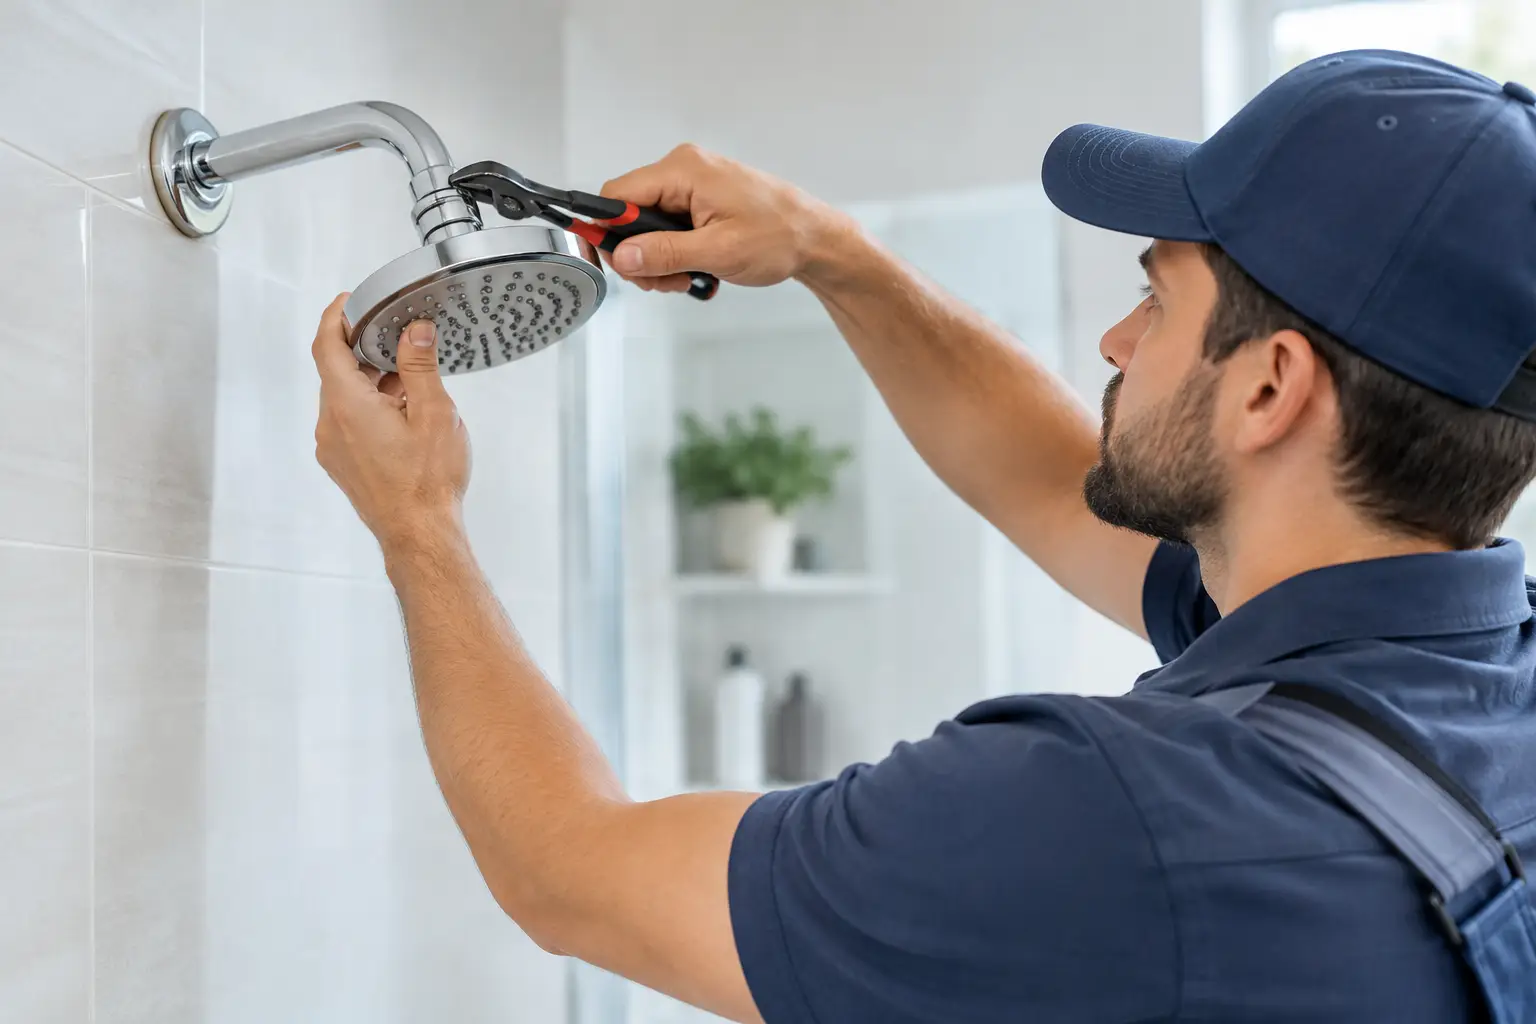
A shower that drips every few seconds is more than a bedtime annoyance. Learning how to stop shower dripping can help protect your water bill, prevent staining around the drain, and catch a failing valve before it becomes a larger bathroom repair. The right fix depends on where the water is coming from and what type of shower valve is behind the handle.
First, Confirm Where the Drip Starts
Look closely at the showerhead after turning the handle fully off. If water continues to fall from the showerhead, the shower valve is likely not sealing properly. In most cases, a worn internal part allows water to pass through even when the handle is in the off position.
Do not confuse a steady drip with the small amount of water that drains from a showerhead after use. A little residual water may stop within a few minutes. If the shower is still dripping 15 to 30 minutes later, it needs attention.
Water appearing from behind the handle, around the trim plate, or from the wall is a different problem. That can point to a loose connection, failed seal, or damaged valve body inside the wall. Avoid repeatedly tightening the handle or covering the area with caulk. Those shortcuts can hide water damage while the leak continues behind the finished surface.
Why a Shower Keeps Dripping
Most shower drips trace back to normal wear in the valve assembly. Every time a shower handle turns, internal components press together to control hot and cold water. Over years of use, mineral buildup, friction, and age can prevent those components from making a watertight seal.
Older two-handle showers commonly use rubber washers and valve seats. A worn washer, a scratched metal seat, or corrosion inside the stem can allow water through. Single-handle showers usually rely on a cartridge, balancing spool, or ceramic disc assembly. When that cartridge wears out or becomes clogged with mineral deposits, it may drip even though the handle feels like it is closing normally.
Water pressure can make the problem seem worse, but pressure is rarely the root cause of a drip at one shower. If several fixtures are leaking, running, or making unusual sounds, a broader plumbing issue may be affecting the home.
Gather the Right Tools Before Taking the Handle Apart
A simple repair often requires basic hand tools, but the exact replacement part depends on the valve brand and model. Before removing anything, take clear photos of the trim, handle, and exposed parts. Bring the old cartridge, stem, or washer to a plumbing supply house if you cannot identify it with confidence.
For many shower valve repairs, you will need:
- A screwdriver set and Allen wrench set for handle screws
- Adjustable pliers or a wrench
- A cartridge puller or stem socket, depending on the valve type
- Silicone plumber’s grease made for faucets and valves
- A replacement cartridge, washer, seat, or stem that matches the existing valve
Avoid using petroleum jelly or heavy general-purpose grease on rubber seals. The wrong lubricant can cause seals to swell or deteriorate. Also, resist the temptation to force a cartridge out with pliers. A stuck cartridge can damage the valve body, turning a manageable repair into work that requires opening the wall.
How to Stop Shower Dripping From a Single-Handle Valve
A single-handle shower is often repaired by replacing its cartridge. The process is straightforward when the valve is accessible and the part is available, but it requires patience and a careful touch.
Shut Off the Water Supply
Turn off the shower’s local service stops if your valve has them. These are often small screwdriver-operated stops located behind the trim plate. If there are no local stops, shut off the main water supply to the home. Open the shower handle afterward to release remaining pressure.
Cover the shower drain with a rag or stopper before removing screws. Small retaining clips, screws, and washers are easy to lose down the drain.
Remove the Handle and Trim Plate
Most handles have a concealed set screw, often located underneath or behind a decorative cap. Loosen it, pull off the handle, and remove the trim plate. If the plate is caulked to tile, score the old caulk gently with a utility knife rather than pulling hard against the wall.
You should now see the valve stem or cartridge. Take another photo before removing clips or nuts. The cartridge must go back in with the correct orientation, especially on pressure-balancing valves that regulate water temperature.
Replace the Cartridge Carefully
Remove the retaining clip or bonnet nut that holds the cartridge in place. If the cartridge is stuck, use the puller designed for that valve style. Work slowly. Twisting or prying too aggressively can crack the valve body or damage copper piping inside the wall.
Install the new cartridge in the same position as the old one. Apply a light coat of silicone plumber’s grease to the O-rings if the manufacturer allows it. Reinstall the retaining hardware, trim, and handle, then restore the water supply.
Test the shower before applying fresh caulk around the trim plate. Run both hot and cold water, turn the valve off, and wait several minutes. If the drip has stopped and the handle operates smoothly, the repair is complete.
How to Stop a Dripping Two-Handle Shower
Two-handle shower valves usually have separate hot and cold stems. Because either side can be responsible, determining which stem is leaking may take a little testing. If the showerhead drips when only one handle is slightly opened, that side is the likely source. In many older fixtures, though, replacing washers and checking both stems is the most practical approach.
After shutting off the water, remove the handle and trim from one side. Use a stem socket or wrench to remove the valve stem. Inspect the rubber washer at the end of the stem. If it is flattened, cracked, hard, or uneven, replace it with an exact match.
Check the valve seat inside the body as well. The seat is the metal surface the washer presses against. A new washer cannot seal against a pitted or rough seat. Some seats can be removed with a seat wrench and replaced. If the seat is badly corroded or will not come out cleanly, a licensed plumber can determine whether the valve can be repaired or should be replaced.
Reassemble one side at a time so parts do not get mixed up. Turning the handles too tight after the repair can shorten the life of the new washers, so close them firmly but do not crank them down.
When Cleaning May Help and When It Will Not
Mineral deposits are common in Orange County homes and can affect shower components over time. If you remove a cartridge or showerhead and see white, chalky buildup, cleaning may improve movement and water flow. Soaking a removable showerhead in a vinegar solution can clear clogged spray holes.
However, cleaning will not restore a cracked cartridge, worn washer, distorted O-ring, or corroded valve seat. If a part is visibly worn, replacement is the more durable choice. Reinstalling an old cartridge after cleaning may stop a minor drip briefly, but it often leaves you repeating the job soon after.
Signs the Repair Should Be Left to a Professional
A cartridge replacement is reasonable for a homeowner who can shut off water, identify the part, and work carefully. It is time to call a professional if the valve is seized, the cartridge breaks during removal, or water is coming from behind the wall. The same applies if the shower has no accessible shutoff, the trim plate is loose because the wall is soft, or the handle temperature is difficult to control.
Older shower valves can also create a parts problem. The original manufacturer may no longer make the stem or cartridge, and forcing a close-but-not-quite replacement into the valve can cause a leak. A plumber can identify whether a rebuild is worthwhile or whether replacing the valve is the better long-term investment.
For landlords and property managers, a prompt repair matters even more. A dripping shower wastes water, but an unnoticed wall leak can damage drywall, framing, flooring, and neighboring units. Documenting the issue and using licensed repair work helps protect both the property and its occupants.
Prevent the Next Shower Drip
You cannot prevent every worn seal, but gentle use and periodic checks help. Do not overtighten handles, especially older two-handle fixtures. If water pressure suddenly changes, a handle becomes stiff, or the shower takes longer to shut off, address it before the drip becomes constant.
A quality repair should leave the handle smooth, the temperature stable, and the showerhead dry shortly after use. If the drip returns after you replace the obvious part, the issue may be deeper in the valve assembly. Lenora Plumbing can inspect the valve, explain the repair options clearly, and provide licensed workmanship at fair prices.
A quiet shower after the water is off is a small sign that your bathroom plumbing is doing its job. Taking care of a drip now keeps that small problem from becoming a more expensive one behind the wall.
Need help with a plumbing problem?
Speak directly with Lenora Plumbing about service for your Orange County home or business.
Call (949) 992-7410